
Please note that any screenshots in this documentation may differ from the current release.
You will require the following in order to build WinFE -
Mini-WinFE uses the WinBuilder scripting language to automate a number of tasks to create a working WinPE.
Before running WinBuilder please be aware that, in the Mini-WinFE project, the following project directory (and sub directories) will, if they exist, be deleted during the start of the build process (Note - %BaseDir% is a WinBuilder variable for the folder from which the WinBuilder executable WinBuilder.exe is running).
Sections in this page -
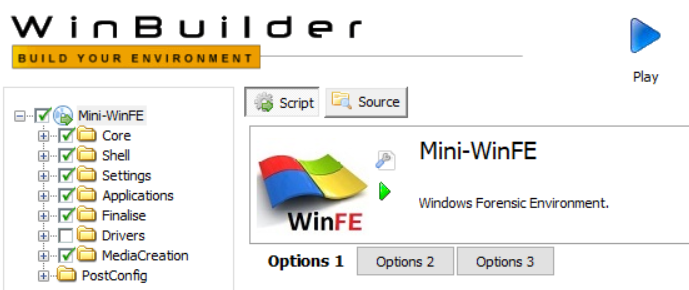
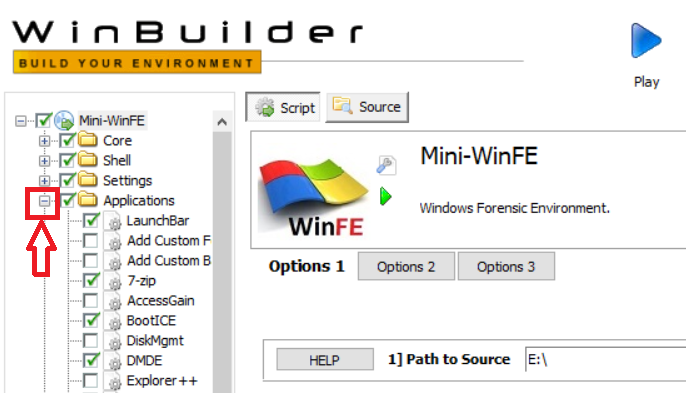
When WinBuilder.exe is first run, you should see a screen similar to the following (the folder tree on the left can be expanded so that individual script options can be selected or disabled as required) -
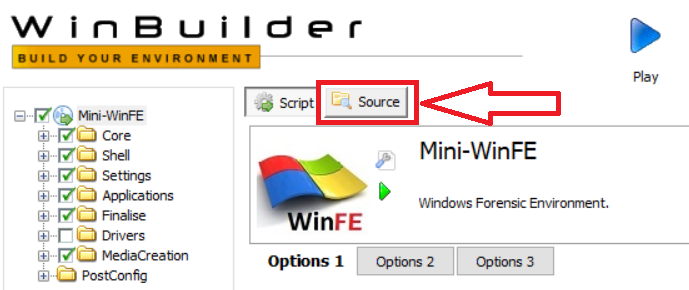
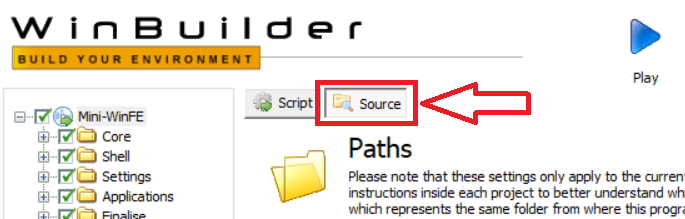
The Source button to used in other projects to set the path to your Windows Installation Media source files (this option is not used in Mini-WinFE) -
Use the Script button to return to the main interface -

When WinBuilder.exe is first run, you should see a screen similar to the following (the folder tree on the left can be expanded so that individual script options can be selected or disabled as required) -
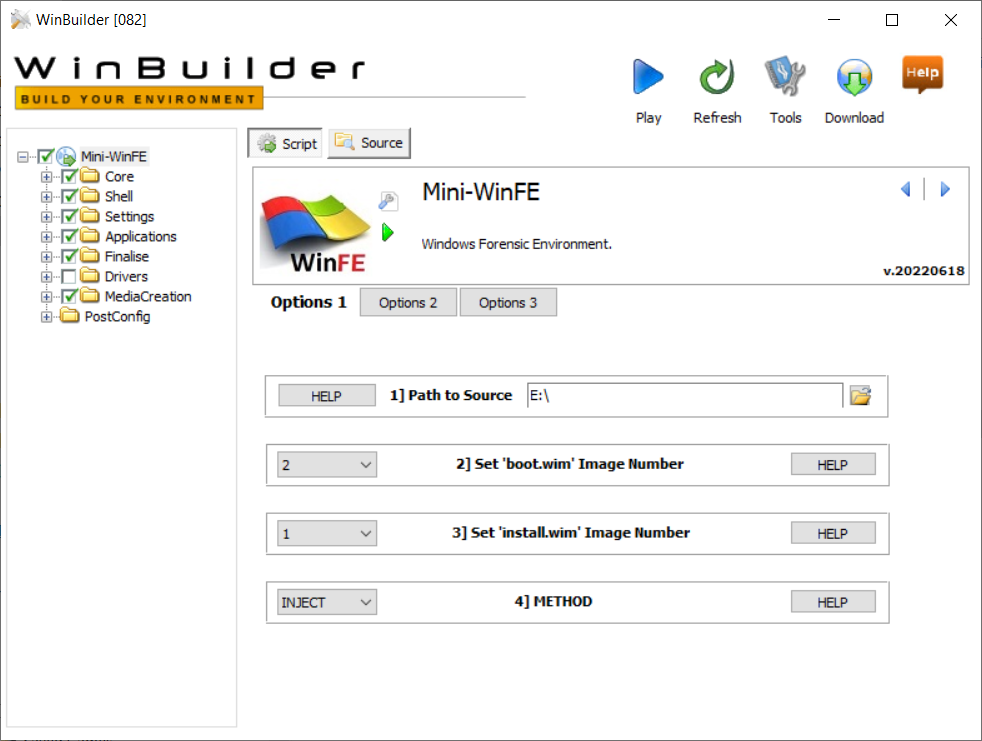
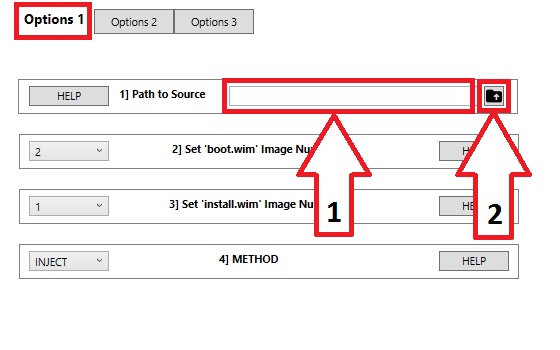
Select the main project script in the folder tree and set the path to your source files by either manually entering the path (1) or click on the Folder button (2) to set the path to your Windows Installation Media source files. Please note that if manually entering a path it must end in a backslash (\). E.g. D:\source_files\
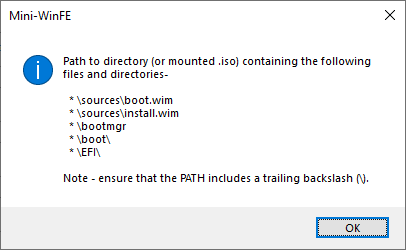
A mounted Windows RTM .iso file is recommended as source. Alternatively extract the contents of a Windows .iso to a local directory. Set the path in this option to the root folder that contains the following files/directories -
To start the build process, click on the big blue Play button in the top right of the screen -

A progress bar will be displayed for individual project scripts as they are processed.
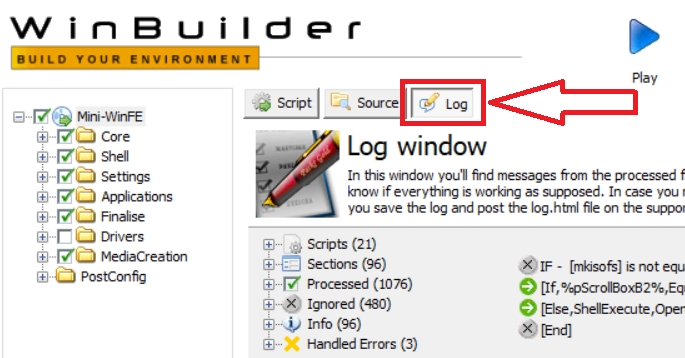
If there are any errors during the build process then view the log file for further information by clicking on the Log button (see below). You can close the log by clicking back on the Script button (to the left of the Log button) -
The source for project scripts can be viewed by clicking on the scripts icon -
This will open a range of options including the built in text editor which is displayed by clicking on the Source button -
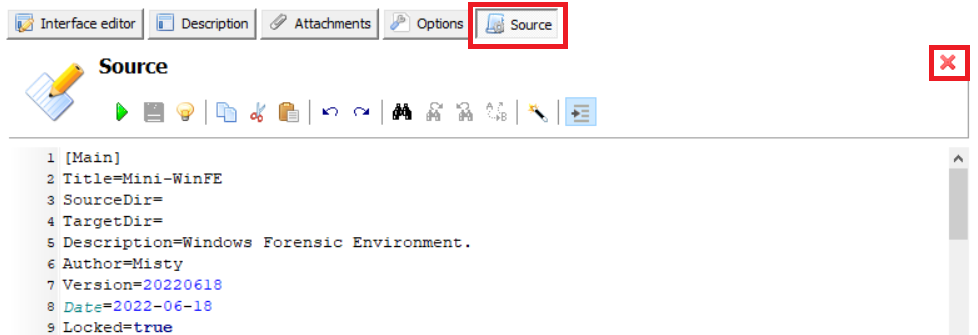
Return to the project by clicking on the  button in the top right of the screen.
Individual project scripts can contain a range of options. In Mini-WinFE the interface has been kept as simple as possible with options reduced to a minimum. A number of options are set in the main project script and can be viewed by selecting Mini-WinFE at the top of the folder tree in the left panel -
Multiple scripts, including the main project script, use pick lists with a range of pre-defined options -
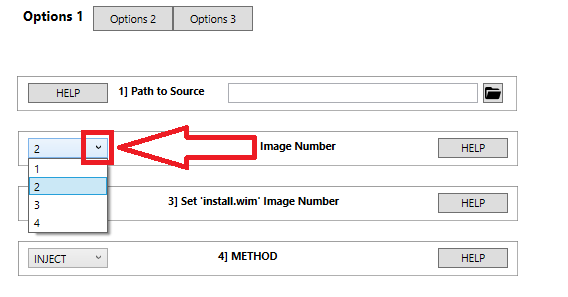
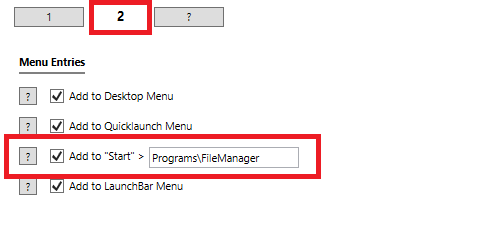
A number of scripts in the WinFE project have a tab style interface with additional options -

To see more information about any of the available options that can be set/changed in the WinFE project, click on the relevant HELP button -

Selecting HELP for this option will display the following information -
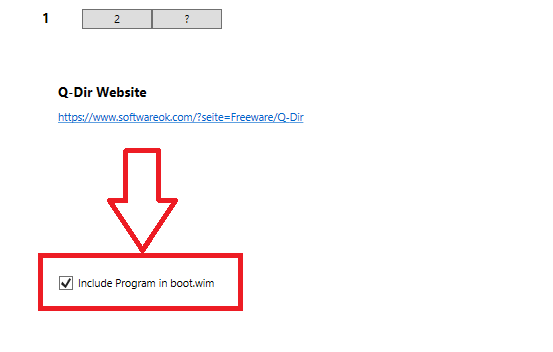
Some scripts use a ? help button -

A number of Applications .scripts have an option to Include Program in boot.wim. For more information about this option see here.
Mini-WinFE supports custom menus. For more information about this option see here.
Document date - 18th June 2022